
 Joanna Gränström
11 benefits of online proofing software
Given the whirlwind nature of product launches, where timing is critical and perfection is imperative, ensuring your artwork proofing process is...
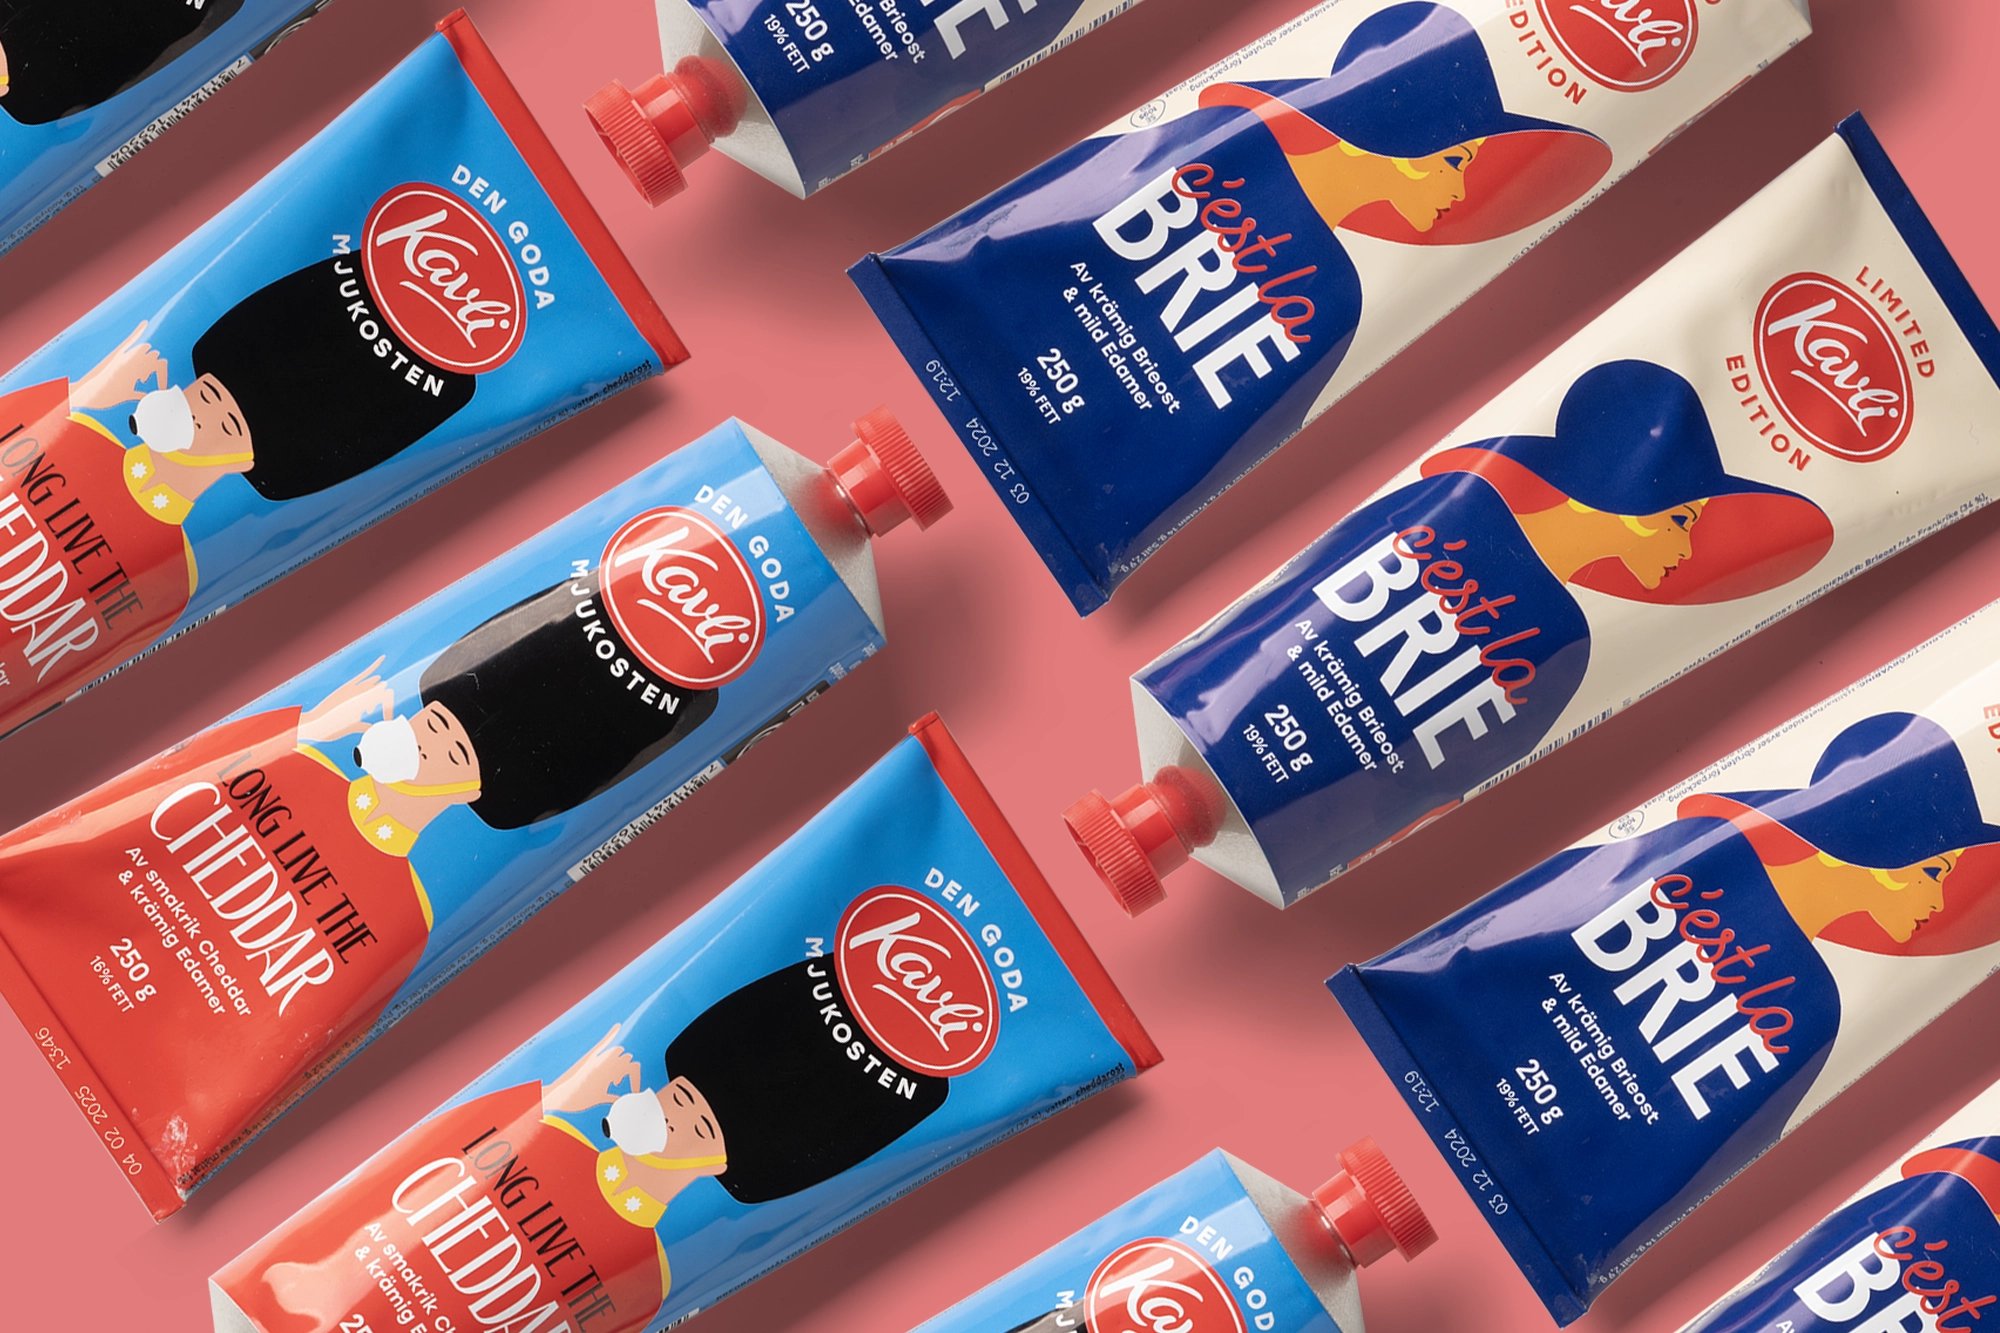
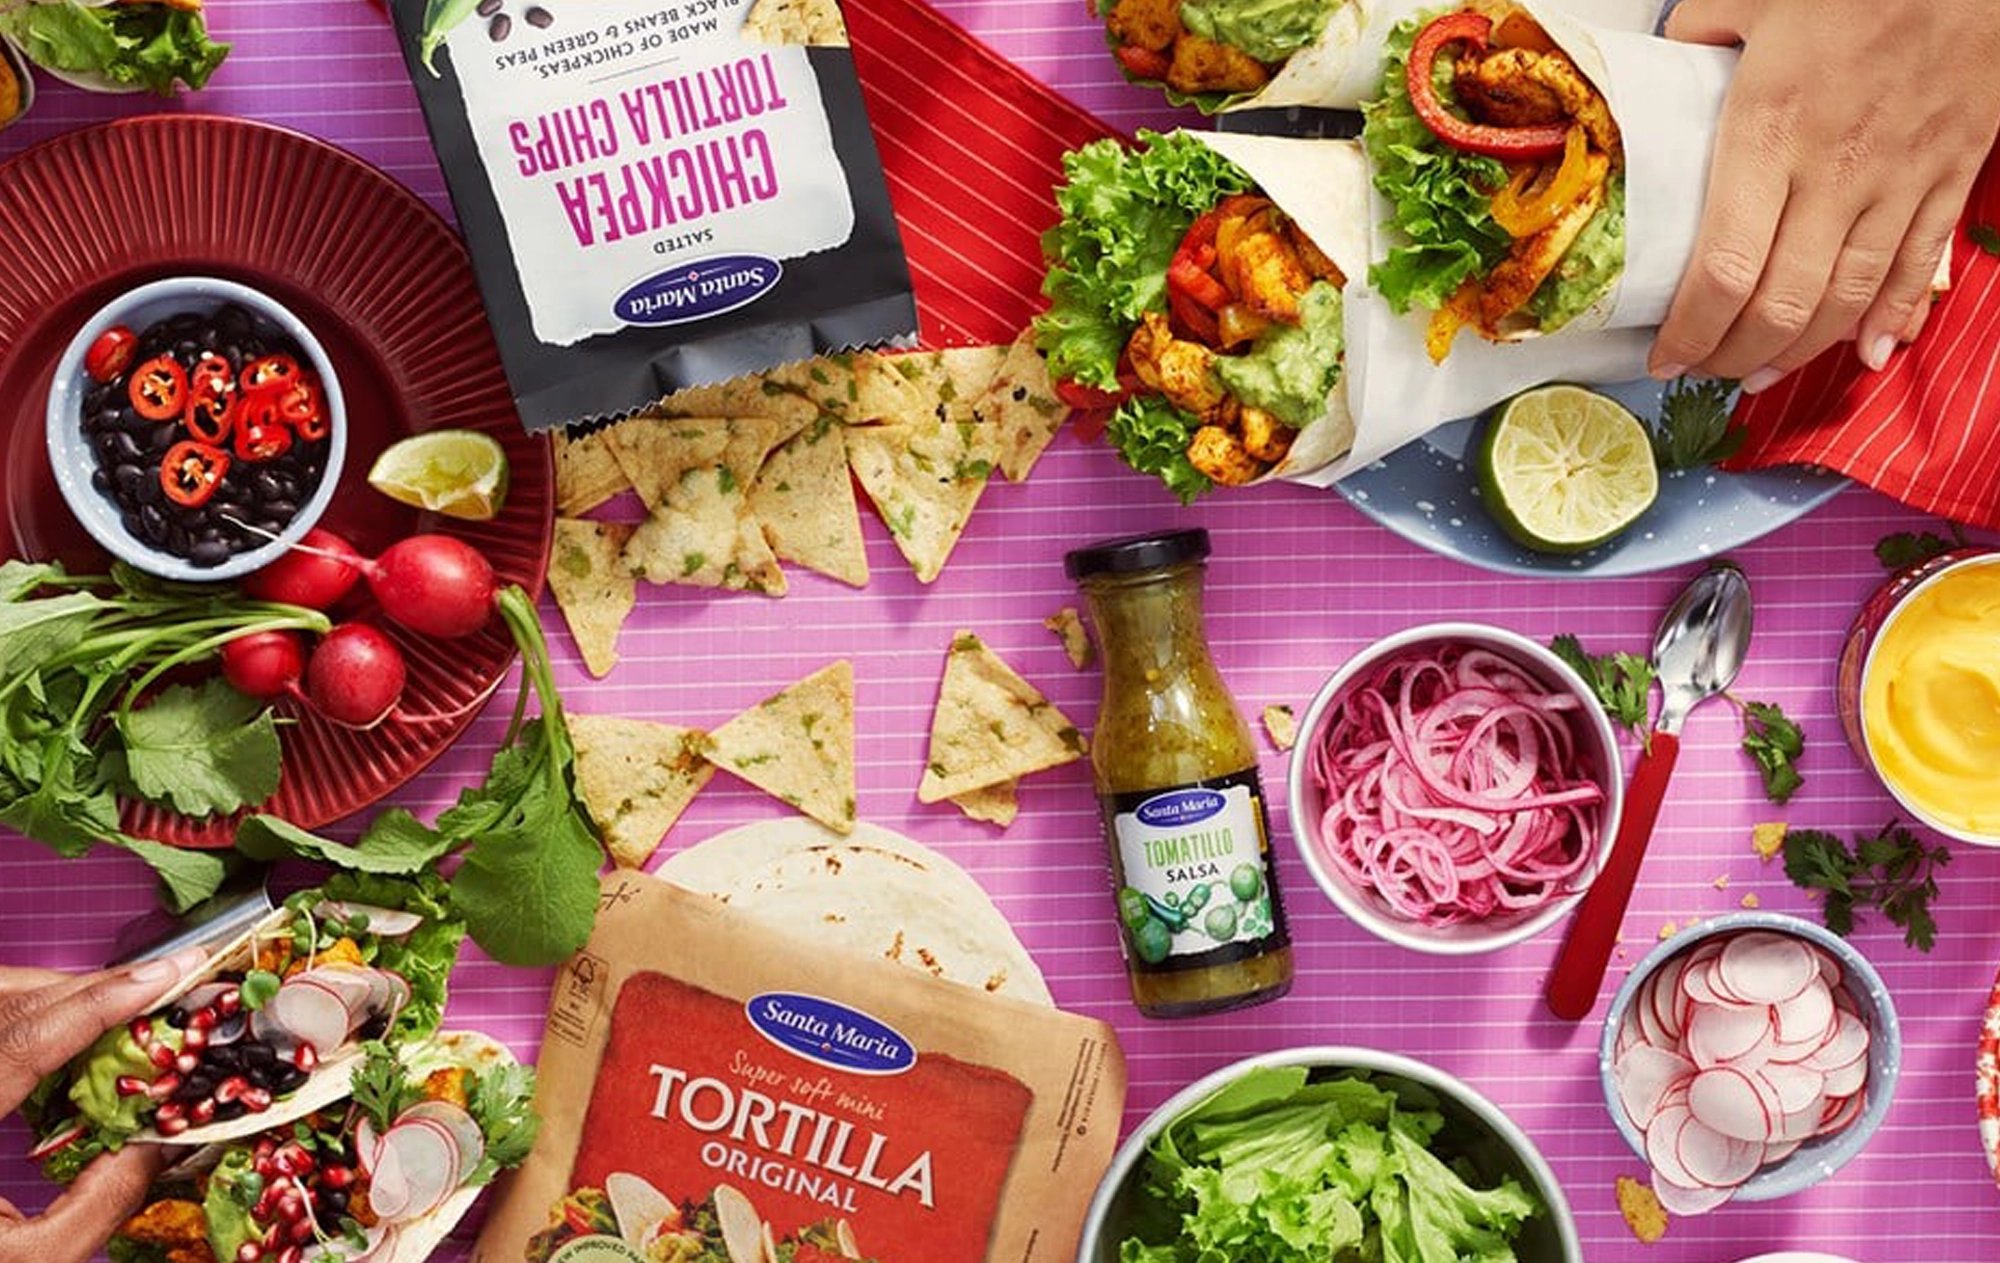
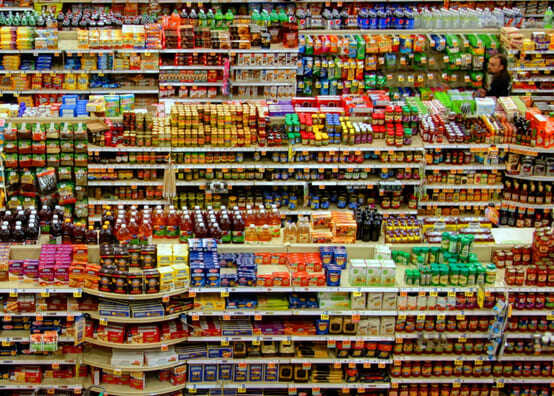
At first glance, packaging design may appear straightforward: select a layout, choose a color scheme, add text, and there you have it — an attractive packaging design. However, the reality is far more complex. One must consider whether the design resonates with the intended audience and if the final product on store shelves will mirror the initial digital mock-up in Adobe Illustrator.
Moreover, what happens when there are errors? How does one ensure the project remains on course and within budget?
Table of Contents
These critical inquiries underscore the fact that packaging design involves more than hastily assembling elements. It demands meticulous care at every stage. A structured process of packaging design is vital for balancing aesthetic appeal with functionality. A packaging design process guides designers through stages of research, concept development, prototyping, and testing. This ensures the packaging is not only visually compelling but also practical, user-friendly, and market-appropriate. Moreover, a packaging design process facilitates efficient resource management, quality consistency, and effective stakeholder involvement, culminating in successful, market-ready packaging design.
With that in mind, let's delve into the nuances of product packaging design, tracing the journey from the initial concept to the finished print.
The first and most crucial of the packaging design process steps involves formulating a strategic plan right from the conception phase. This will lead to various design iterations to be evaluated. While the final packaging may differ from this initial concept, there will be numerous chances for refinement as the project progresses.
The journey starts with a design brief that lays the groundwork for early planning, outlining the project's aims and objectives. While this is an essential first step, it must be enriched through several rounds of both primary and secondary research. Each stage of research is key to uncovering possibilities for your design’s visual language, brand placement, and unique selling points.
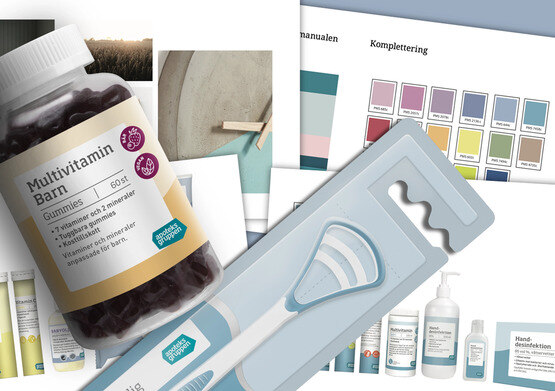
Incorporate specifics regarding the outcomes you envision, the target demographic, and additional elements that will be influential further down the line. This could encompass chosen color schemes, particular typefaces, logos, or other brand-related visuals.
It’s imperative to establish these elements early on. Decisions made late in the packaging design process tend to be less effective, so it’s advisable to avoid postponing these critical considerations.
In this stage it’s equally important to implement print management to secure the end result. If print limitations are considered early, there is plenty of time for creation within the frames rather than putting out fires with incremental adjustments later when it’s closer to the deadline.
Transitioning to the copywriting phase, it's essential to gather, validate, and incorporate the textual elements of your packaging design, including:
As some of these elements take time to assemble and validate, placeholders can be used in order not to delay the process.
Invest effort into crafting your copy. The language you select to portray your product significantly shapes the consumer’s brand perception. Given that many consumers view packaging as almost as influential as the brand itself in their purchasing decisions, this step is not to be overlooked.
Consolidate all relevant text into a single document. This simplifies the process for stakeholders to approve the copy without extensive time commitment. Make sure to integrate this document into your shared platform to facilitate review by all parties involved.
Once the copy is set, the next step is the artwork rollout for each product SKU. Graphics final artists will craft print-ready files, paying special attention to dielines, which outline all the critical elements like cut lines and color registrations. Collabra’s specialty is to implement design without compromising the original intent, but adding layers of competence and experience.
It's crucial to check the artwork for accuracy in placement and size to ensure consistency. Visual tools like 3D renders and physical mock-ups are invaluable at this stage, providing a realistic view of the final product from various angles.
For efficient progression and stakeholder alignment, it’s advantageous to use a project management and artwork review tool like Cway in the packaging design process, streamlining validation and approvals, thereby reducing the need for late-stage changes.
The artwork has been finalized and approved. Now, you're entering the prepress stage, which is essential for translating your design into a format ready for mass production. This phase is all about precision: checking that your design will transfer from screen to print flawlessly.
Typically, the printing industry relies on two color systems: the CMYK four-color process, which breaks down the design into separate plates for cyan, magenta, yellow, and black, and the Pantone system which means that specific spot colors are used. Given that printed colors can appear differently from digital ones, adjustments are often needed to maintain the integrity of your original hues.
Each printing press has its own characteristics. To accommodate these variances, press profiles act like computer drivers, calibrating the press to interpret your design as intended.
The anticipation has been building, and now it's time for the pivotal moment: initiating the print sequence. The forthcoming phase in your design journey is the production of a hardcopy color target, the tangible first look at your concept in its intended form. Color targets should be sent both to prepress and printer.
Upon receiving the proof hardcopy from prepress, diligently compare it against the color target. The smallest variance in hue can have a disproportionate impact, especially if packaging items are printed by different printers. Accuracy here is critical; the proof's colors should be a perfect match to the eventual full-scale printing, with the exception of spot colors which need to be approved on site.
Prepress also sends out a proof PDF for validation of the design content. It’s crucial to compare each element to the original artwork, as prepress often chooses to copy-paste prepress-prepared elements between designs to save time, and there is risk for misinterpretations. Performing this validation visually is both time consuming and risky. Collabra performs this check digitally, ensuring that the slightest variation is found and eliminated.
Quality assurance is non-negotiable. ISO certification for color targets and proofs is your assurance of quality. This international standard verifies that the proof meets rigorous quality criteria, so insist on ISO certification to uphold the integrity of your printed materials.
At last, you've arrived at the culmination of your process of packaging design: the actual printing. This stage involves transferring your production-ready designs onto the chosen materials. The artwork files are used to create press plates or cylinders, which are then mounted onto the printing press to begin the printing process.
With the files prepared and press plates crafted, the next move is to set the production run. This is your final checkpoint; making sure every detail is scrutinized before giving the green light. This approval process requires on-site management by a skilled print approver, someone with the expertise to understand what changes are necessary and the know-how to implement them effectively. Collabra provides this service for our clients by attending print runs and ensuring the outcomes meet our stringent standards.
We hope to have shed light on the packaging design process steps required in a successful project, which often involves more than meets the eye.
Due to its complex nature, it's essential for businesses to engage with professionals who specialize in every aspect of the packaging design process, and an artwork management system to keep all files and people on track. Many pitfalls can arise during the packaging design journey. We recommend diligent validation and review at various stages.
Maintaining order and implementing systematic validation processes at predetermined milestones are the most effective and economical ways to ensure your packaging design stays within budget and on track.

Given the whirlwind nature of product launches, where timing is critical and perfection is imperative, ensuring your artwork proofing process is...

In the fast-paced world of design and product development, creating effective design feedback loops is essential. It's not merely about refining...
In the ever-evolving world of packaging design, the line between form and function blurs, transforming ordinary containers into extraordinary...